Blog Hop: Adding Atmosphere (the Stampin’ Up! post)
Welcome, welcome to the Papercut Labs’ 12 Days of Christmas! Over twelve days the hop is providing you with some awesome Christmas projects to inspire you and (if you’re not already) get you totally in the Festive Spirit! To keep up with the hop and where it lands each day: visit our information page. And don’t forget to join the crop event for chances to win the giveaway prizes.
So where are you in the hop? DAY EIGHT! Make sure you check the blogs that have already provided inspiration, and head on over to Scrapmatts tomorrow for day nine.
Monday, 8 December 2014: Papercut Labs
Tuesday, 9 December 2014: A Piece of Cake Designs
Wednesday, 10 December 2014: Kellie Stamps
Thursday, 11 December 2014: Heidi Swapp (via Kim Jeffress)
Friday, 12 December 2014: The Scrappery
Saturday, 13 December 2014: Seriously Scrapbooking
Sunday, 14 December 2014: Maya Road (via Angella Peardon)
Monday, 15 December 2014: Stampin’ Up! << YOU ARE HERE
Tuesday, 16 December 2014: Scrapmatts
Wednesday, 17 December 2014: D-lish Scraps
Thursday, 18 December 2014: Studio Calico
Friday, 19 December 2014: Papercut Labs
Editor’s note: The Pacific region of Stampin’ Up! doesn’t have its own blog, so we talked it out with them. We’re hosting their post — and we’re so happy we are!
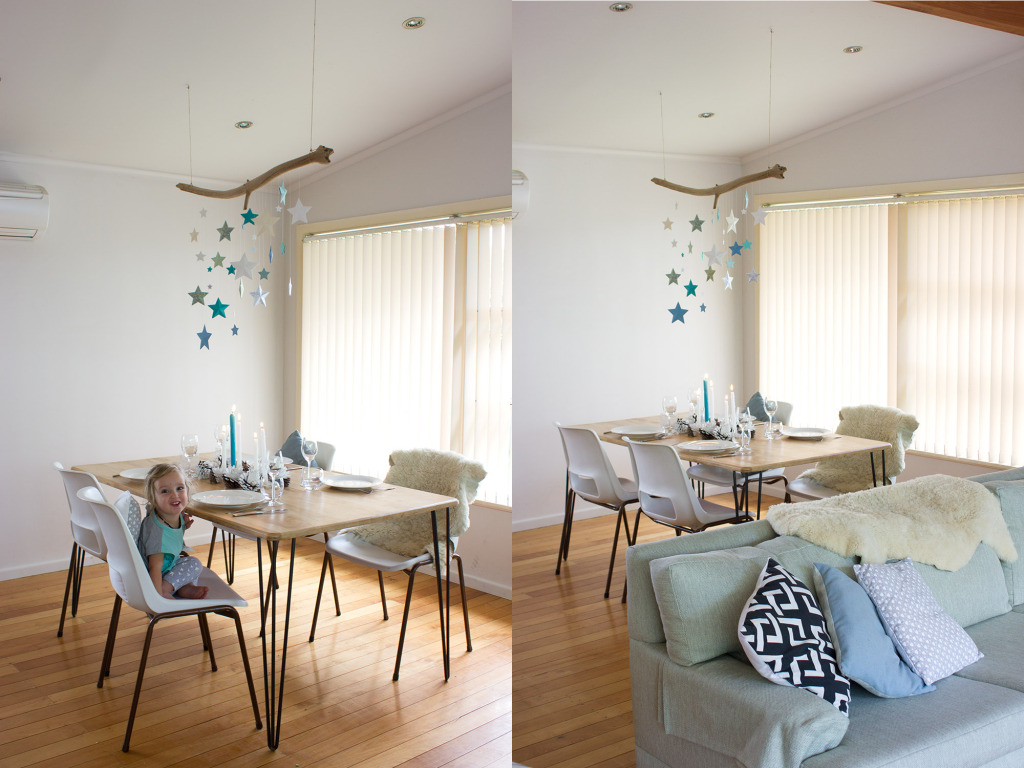
Today, Susan from Stampin’ Up! joins us and helps create some atmosphere to any Christmas table.
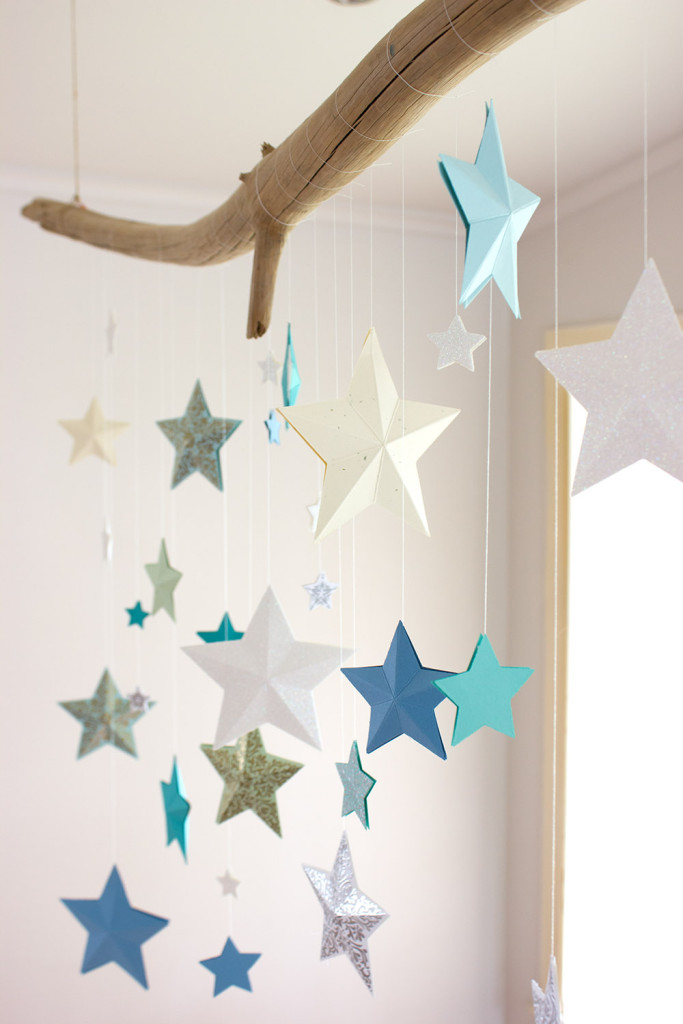
Stars Over-the-Table Christmas Mobile
Supplies:
Inks: Versamark
Papers: Bermuda Bay, Marina Mist, Pistachio Pudding, Whisper White, Coastal Cabana, Soft Sky, Pool Party, Naturals Ivory, Dazzling Diamonds Glimmer Paper
Stamps: Bright & Beautiful
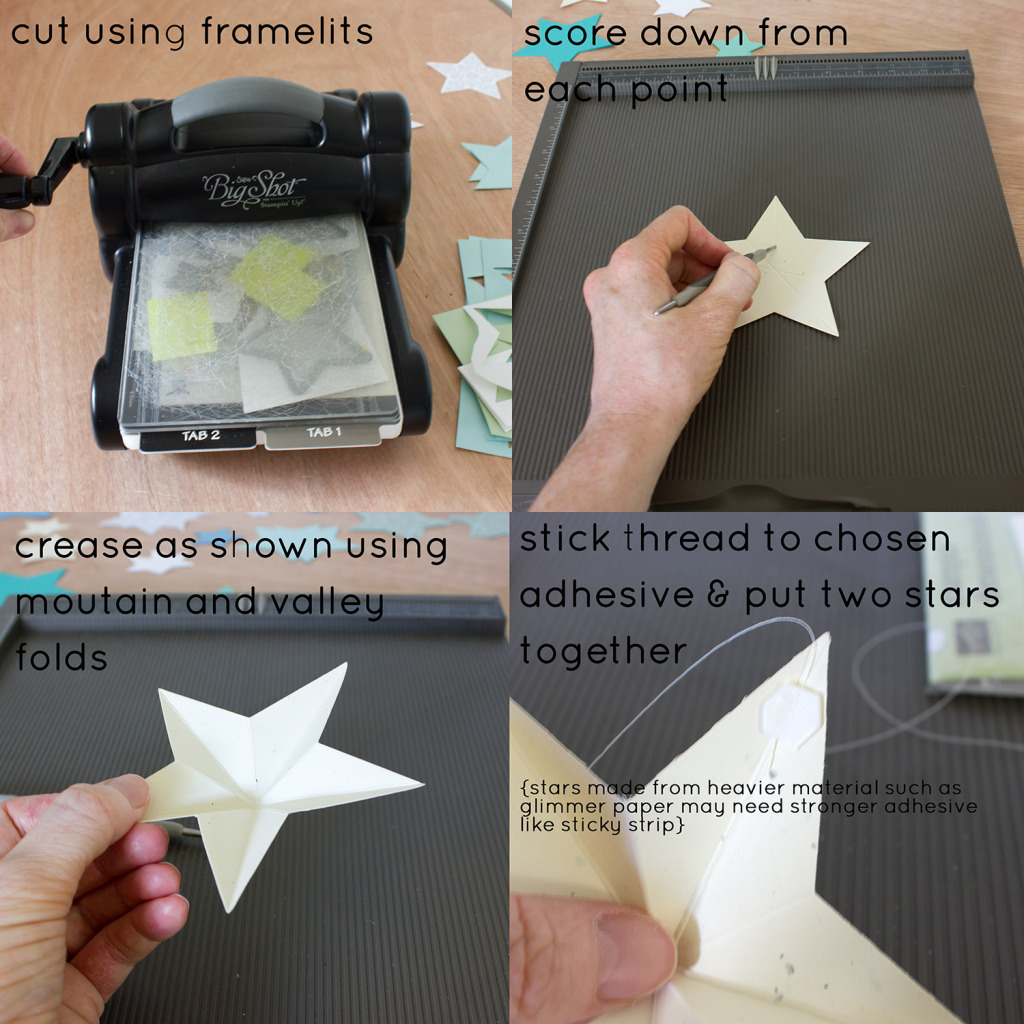
Accessories/Tools: Gold and Silver Stampin’ Emboss Powder, Stars Framelits Dies, Adhesive (I used Dimensionals and Sticky Strip)
Driftwood
Cotton Thread
Hemp twine or other for hanging
Two eyelet screws for ceiling
Make approximately 30 stars (see below — note, the smaller stars were left unscored, as you can see in this detailed photo). This depends on the length of your driftwood/branch/dowel of course. Make sure your threads are all about a 60–80cm long so you have some play when hanging.
Tie on your stars at varying lengths and hang to the ceiling. A friend to help you place it and get the strings the right length is definitely helpful!
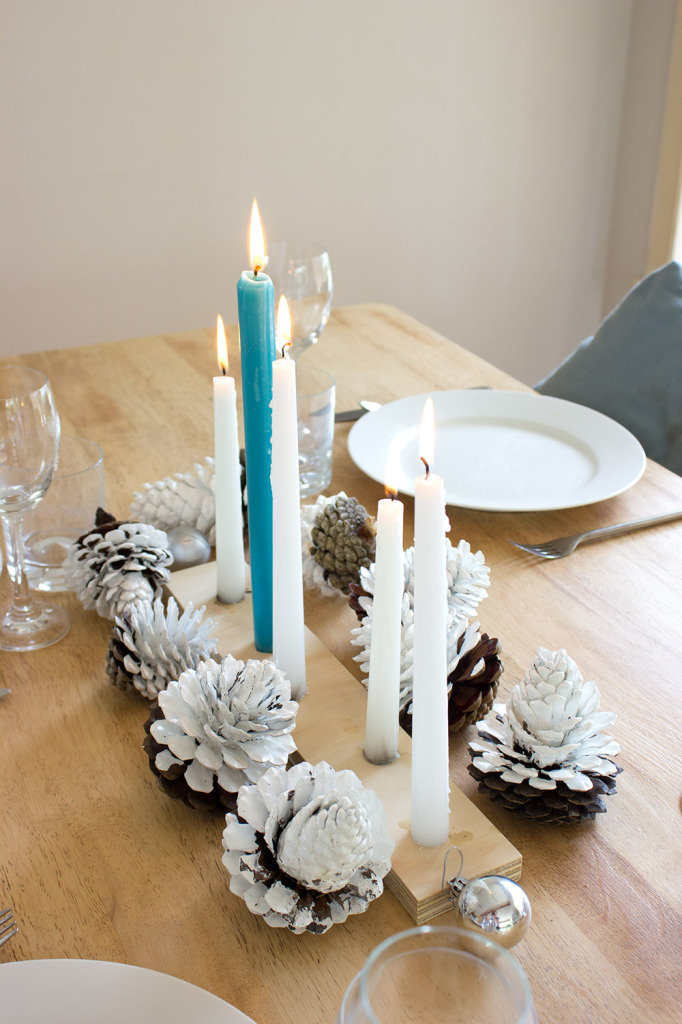
Dipped Pinecones
Supplies:
Pinecones, Baking Trays, Tin Foil, Paint of your choice
I went cone collecting with my four-year-old daughter where we braved all the bugs hanging out under the pine trees.
Bring them all home and bake on a tray lined with foil for two hours at 110C/225F.
This melts off the sap, kills all the creepy crawlies, dries out the cones and opens the ones that are closed. Plus it fills your home with a beautiful woody aroma!
Let them cool then remove any loose bits including the seed pods.
Dip in paint, drain as much paint off as you can then place on a fresh tray lined with foil and let dry. You could add glitter too if you’re game!

